This most excellent dessert is worth the 4 hours of prep, baking and chilling time! I adapted a fabulous recipe in an effort to make it slightly healthier. I’ll let you know what’s what with the modifications so you can decide which ones you want to keep.
I used a 10.5 inch springform pan instead of the 9 inch pan called for in the recipe. This worked out well, though the entire cheesecake was a bit thinner. If you don’t have as many people to feed, or want a thicker cheesecake, use a 9 inch pan, or double the cheesecake layer ingredients for the larger pan (if desired).
Cut a piece of parchment paper to fit the inside of the springform pan, place it inside the assembled pan, then spray with baking/cooking spray. From previous posts, you can see that I often make cheesecakes in pans other than “springform”, so it will still taste great even if you don’t have a fancy pan- it just looks nice when you remove the round sides before serving.
Preheat the oven to 325 degrees.
Here is what I used for the crust layer:
1 and ¼ cups graham cracker crumbs
¼ cup each tapioca flour, coconut flour, quinoa flour*
6 TBSP melted butter
4 TBSP brown sugar (note, despite reducing the amount of sugar in the original recipe to 4 TBSP, the entire cheesecake was still very sweet to my taste. I would use LESS sugar in the crust next time, probably 3 TBSP, due in part to the large amounts of sugar in the other layers).
* if you don’t have alternate flours, just use 2 cups of graham cracker crumbs for the crust, and/or substitute any other alternate flours to your taste, such as almond flour, etc.
Melt the butter, add the crumbs and sugar, stir, press into the bottom and up the sides of the springform pan. The original recipe did not call for baking the crust, but I have been making cheesecakes for years and normally bake the crust, even for no-bake cheesecakes. Since I used additional ingredients besides graham cracker crumbs, I baked the crust for 10 minutes and was pleased with the results. If you use only graham cracker crumbs you do not have to bake the crust. If you bake it, let the crust cool for a few minutes out of the oven. Chill in the fridge or freezer while you prepare the next layer (my freezer never ever would have enough space for a springform pan!).
Here’s what I used for the first pecan layer:
1/3 cup butter
2 eggs
1 tsp vanilla
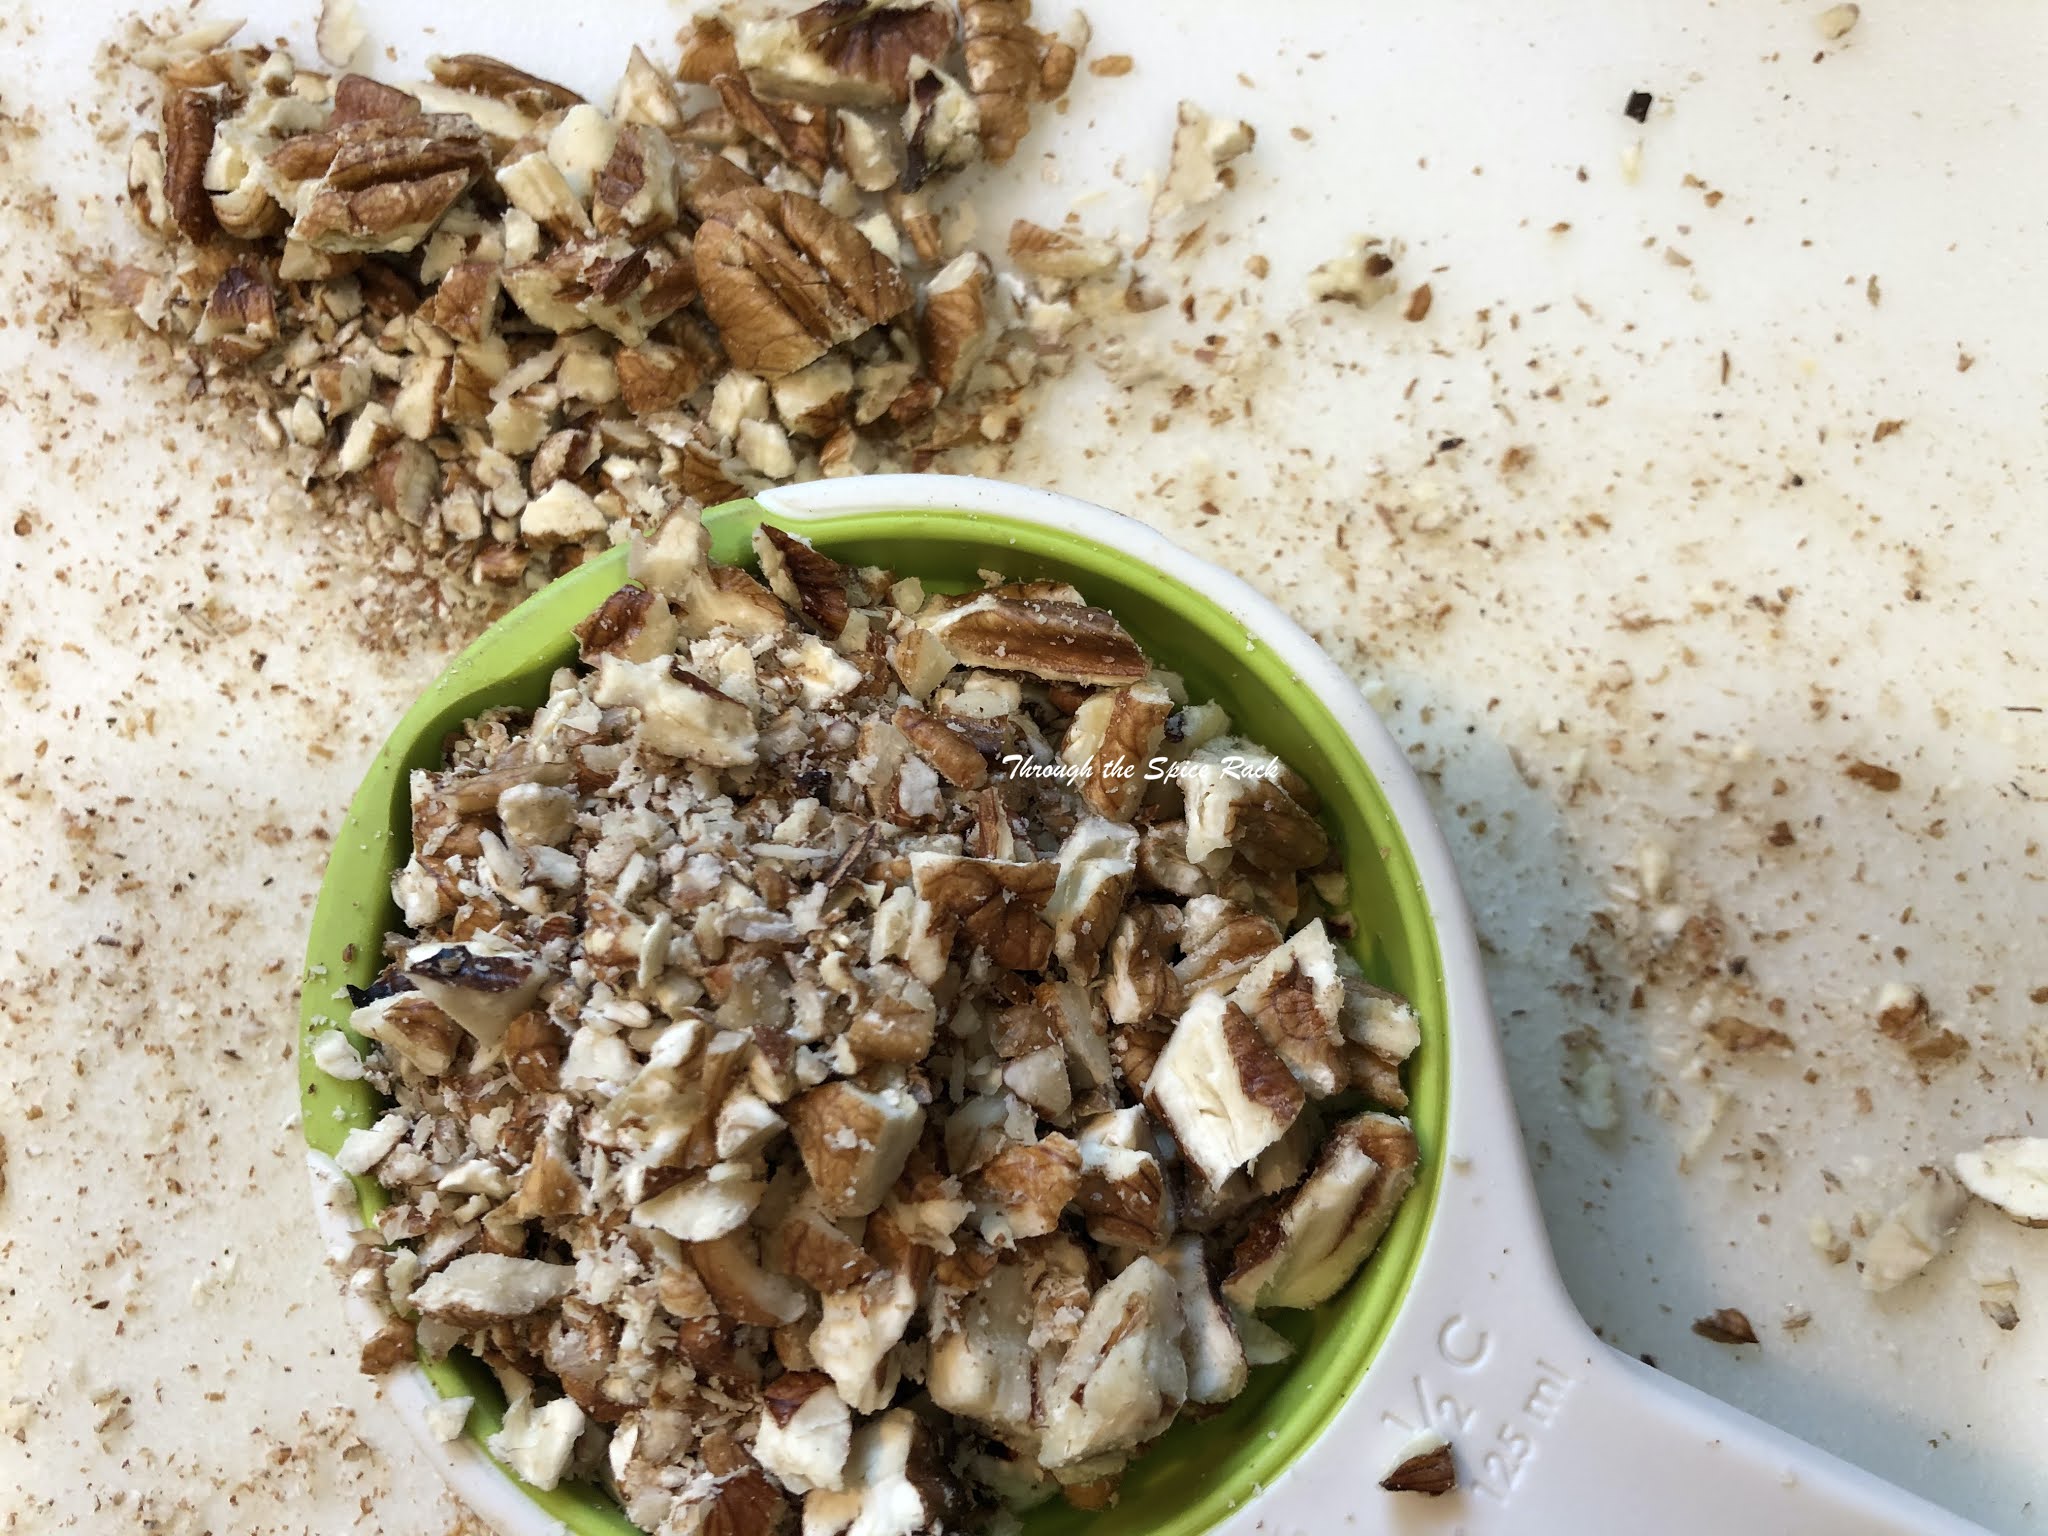
1 and ½ cups chopped pecans
1 cup brown rice syrup*
½ cup sugar (note, next time I would use 1/3 cup sugar, even though the original recipe called for even more than ½ a cup of sugar)
In a pot on the stove, bring these ingredients to a boil, then lower the heat and stir until thickened. Pour over the chilled crust.
*if you have ever made pecan pie before, you probably expected to see light corn syrup here, which is what the original recipe called for. I’m trying to use healthier/more natural ingredients, and since the health food store where I went didn’t have light corn syrup, I decided to give brown rice syrup a try. The label says it can be used as a substitute for corn syrup. This layer in the cheesecake tasted wonderful. The texture was a bit chewy, which may be due to how I heated it or it could be due to the substitution. Please feel free to use light corn syrup; I will stick with the brown rice syrup.
Here’s what I used for the cheesecake layer:
2 blocks of cream cheese, warmed to room temperature for ease of mixing
½ cup sugar (this is down from the original recipe; I would keep this amount next time)
1 and ½ TBSP flour (I used gluten free flour)
1 TBSP vanilla (I accidentally used only 1 tsp vanilla and it could benefit from a bit more flavor, though nobody complained!)
3 eggs
½ cup sour cream (I used Lactaid sour cream)
 |
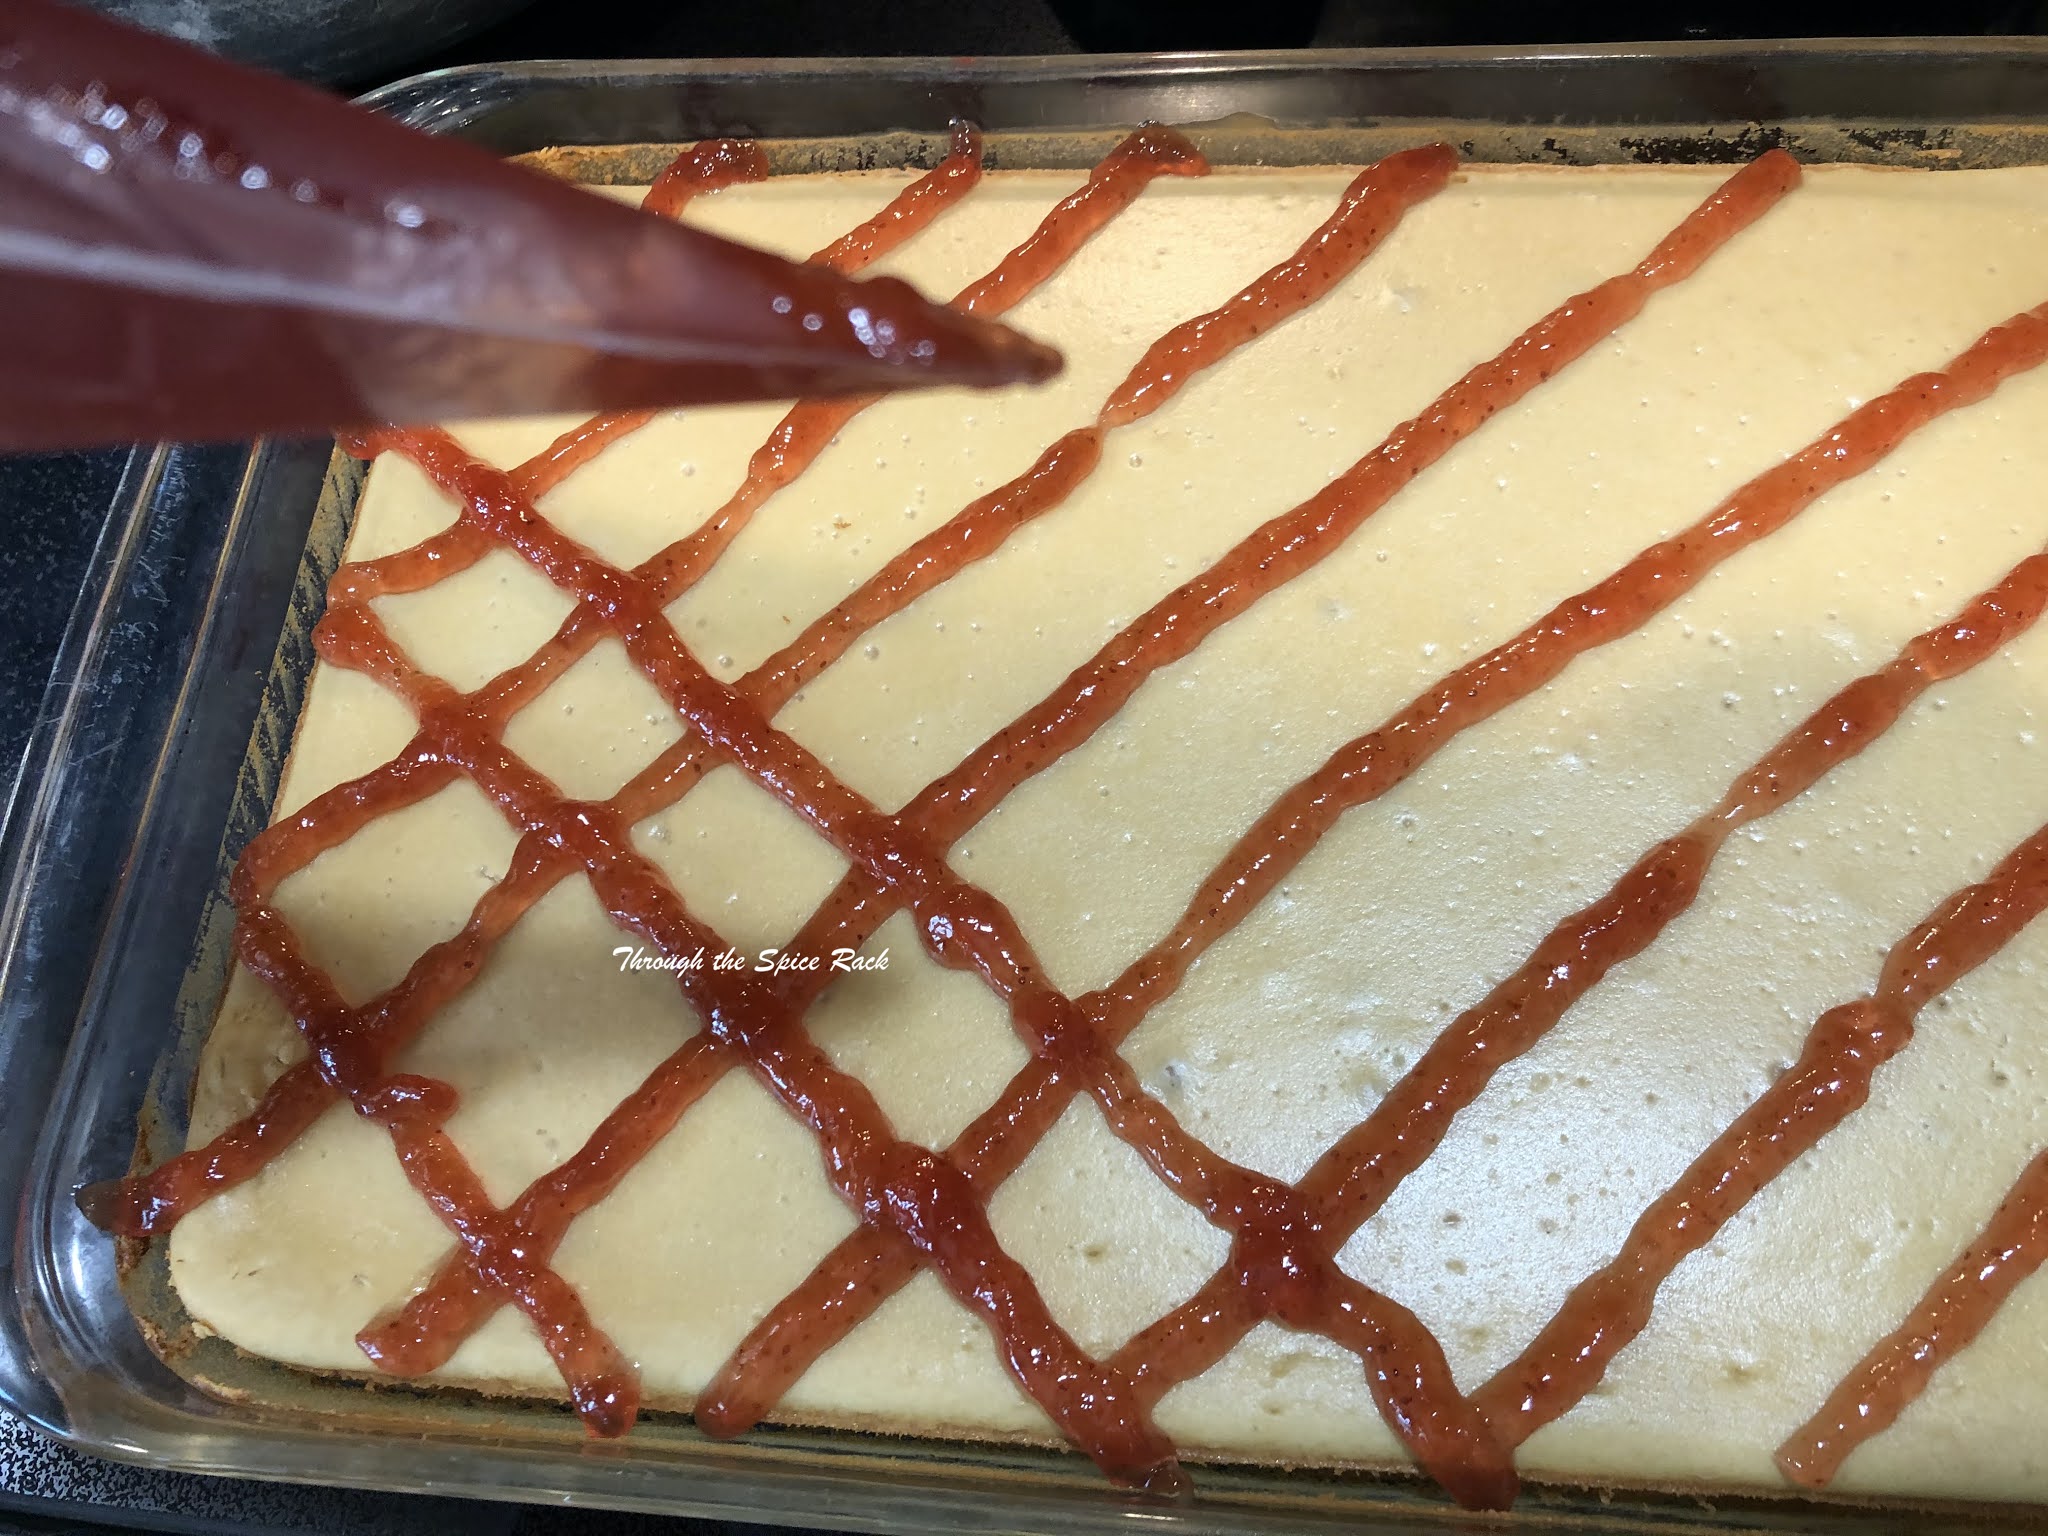
This photo is of the first pecan layer
|
Blend cream cheese and sugar, add remaining ingredients- mix between each egg. Bake for 1 hour over a water bath*, then turn off the oven and leave the cake inside the oven for 30 minutes. Then crack the oven door and let the oven and cake cool for another 30 minutes.
*wrap the bottom/sides of the spring form pan with aluminum foil. If you have a large enough pan to place the springform pan in, put the springform pan inside a large pan and put water in the large pan, being careful to avoid water over the top of the foil, so no water can get into the springform pan. My pan was too large to fit into another pan, so I put a large pan with water on the oven rack just underneath the springform pan. I hope the steam effect was still useful (the cake tasted great). As you can see in the first photo, using a larger pan but keeping the same baking time resulted in a slightly browned cake top (normally I would open the oven to check for doneness, but I thought the oven should not be opened with a timed water bath, so I couldn’t see that it was browning up). It didn’t taste burned at all, but if you will use a 10.5 inch springform pan, I would reduce the first baking time by 10 minutes. If you use a 9 inch pan as called for, keep the hour. I will report back if I double the cheesecake layer next time, because it should need a longer baking time.
Here’s what I used for the second pecan layer (topping):
¼ cup butter
1/3 cup brown sugar (note, this was beyond delicious. I might add less sugar next time)
½ tsp vanilla
¼ cup heavy cream
1 cup chopped pecans*
Heat the butter and sugar until the color deepens. Remove from heat and add the remaining ingredients. Pour over the cheesecake!
 |
| This photo is of the first pecan layer, not the topping |
The original recipe recommended chilling the cheesecake for hours/overnight. This might result in a nice firm cheesecake, but we didn’t have time to do that, and it tasted great without the hours of chilling.
* I have never tasted such delicious pecans as I did this year when I received some as a gift from a friend in Texas. Plain grocery store pecans will be avoided whenever possible from now on. Apparently, pecans from Texas are something special!